In my previous infographic guide – “Keeping Chickens is NOT Expensive”, where I recommended a chicken cage for only $30, well.. we have finally upgraded to a proper chicken coop!
After using the chicken cage for almost a year, we feel that it’s a good time to upgrade them since we are also considering to expand our flock of polish chickens.
Here’s a photo of our old trusty coop.

A simple yet practical setup when we first started out a year ago.
The green board is a makeshift roof for rainwater to flow to the side of the cage. Its really a very basic and unsightly setup. But oh well, it really did served its purpose of keeping our chickens dry and quiet throughout the night.
You can head to Dama Trading Pte Ltd at Blk 3029A Ubi Road 3, Singapore 408661 to customize the roof setup. They are able to custom cut acrylic, double/single wall polycarbonate sheets for you. Great service & reasonable prices!
One of my favourite places to be at!
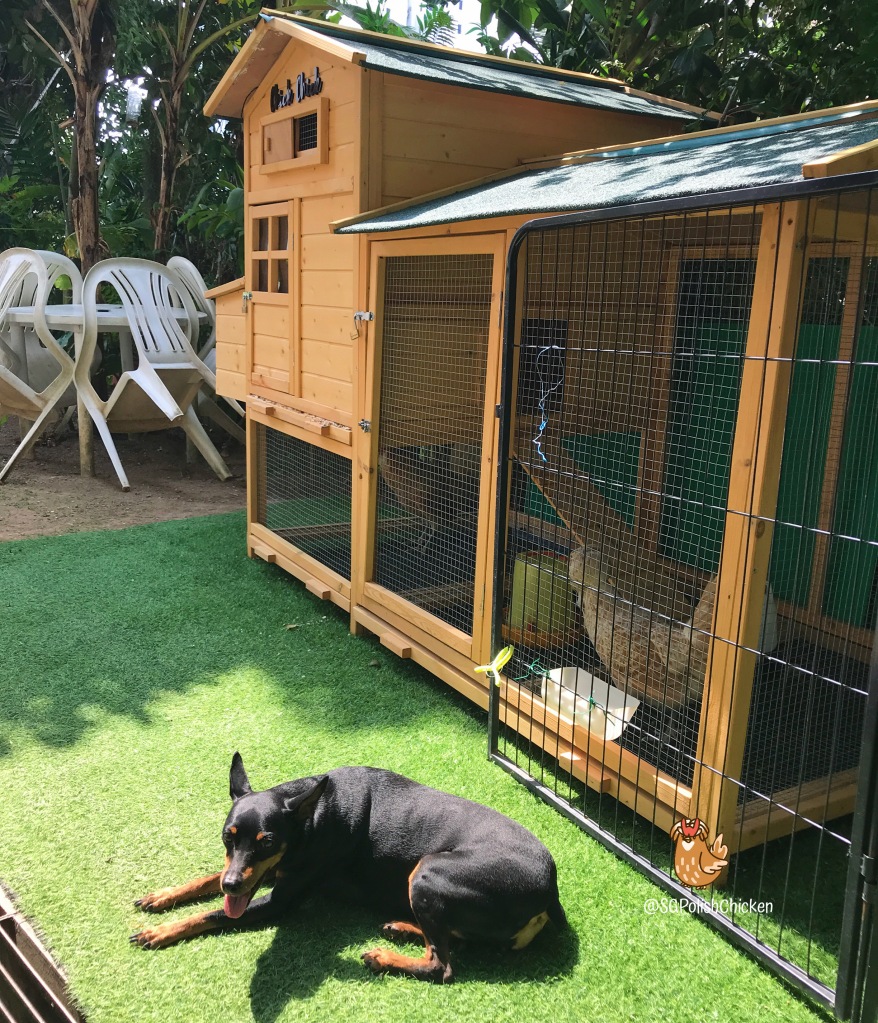
And here’s our upgraded coop!

We paid $380 inclusive of taxes and shipping from Taobao China.
I used EZBuy Prime membership to request for a “wish”. You will have 3 wishlist every month if you are a EZBuy Prime member and can request for the items that you like to purchase if it is not available on their platform. Shipping from China to Singapore will cost $2.99 if it is approved.
EZBuy Prime membership cost SGD$99 per year.
Shipping took more than 1 month. I do not recommend the seller I used, as he took 3 weeks to ship the item out to Ezbuy Warehouse in China. And another 3 weeks to reach Singapore via sea freight.
I’m sure you can find a similar one from a more reputable seller.

For a start, the dimension of my coop is
1.5m (Height) x 2.0m (Length) x 1.0m (Width).
And also I paid extra for 3 plastic trays below the run area, so we can rinse the poop easily.
Setting up
It took me and my dad one hour to get it assembled.
What do you need? A cool sheltered assembly area and a trusty cordless screwdriver!
I used a 7.2V which I got from ikea some time ago for about $40.
Do also get some extra help when you need to carry the assembled coop to your garden. The roof panels are extremely heavy!
Or would suggest to assemble the coop in 2 parts and shift over to connect the “run” area to the “house”
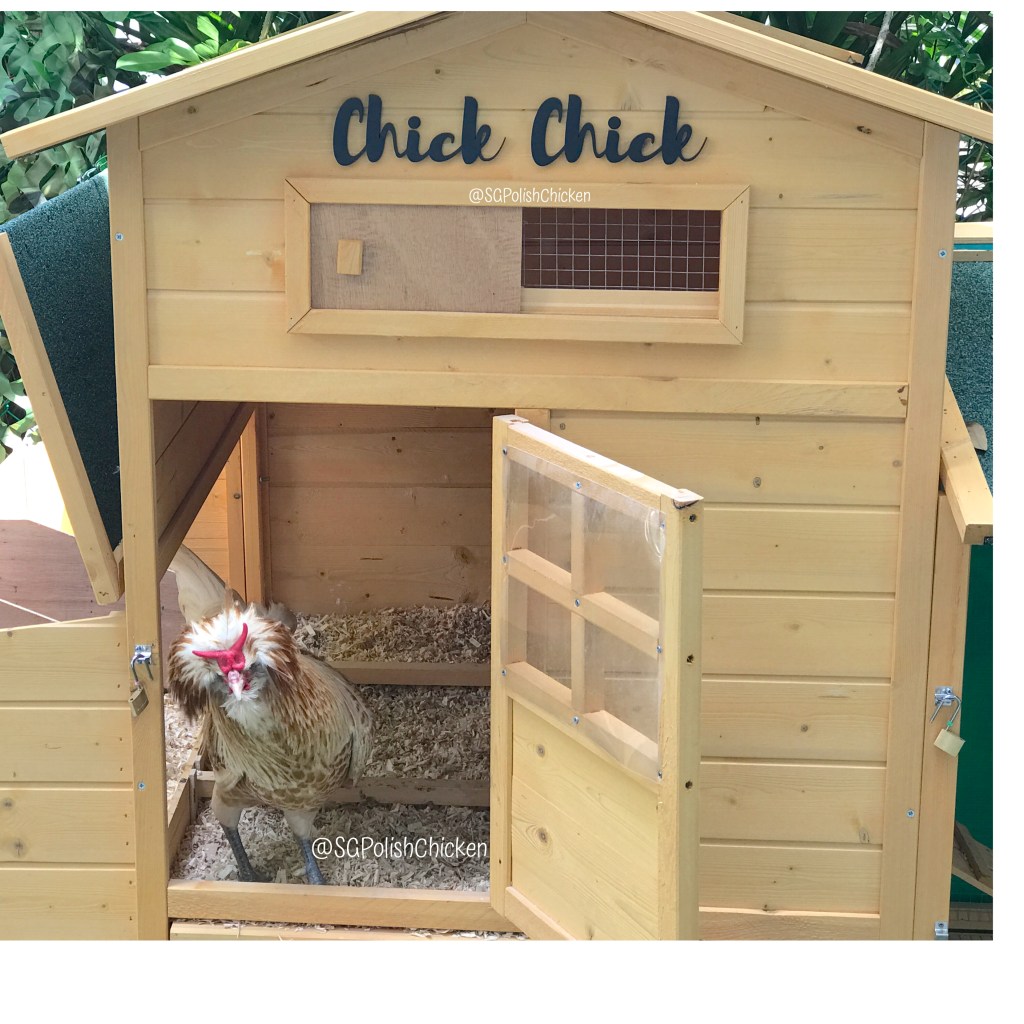
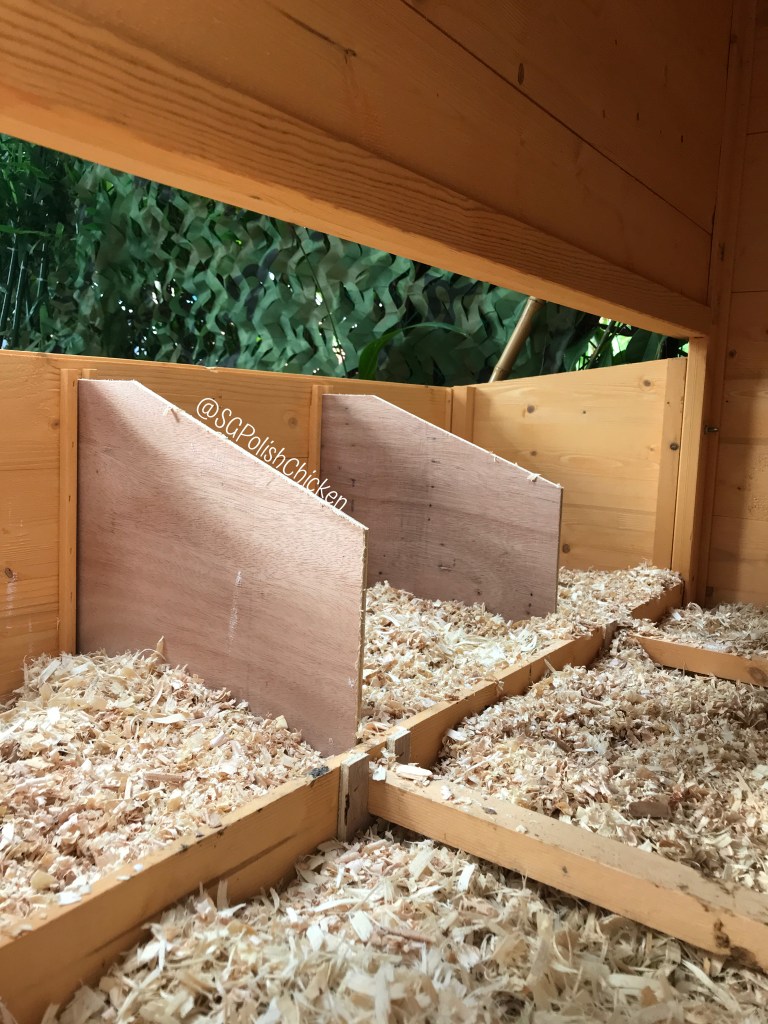
Inside The Nesting Area

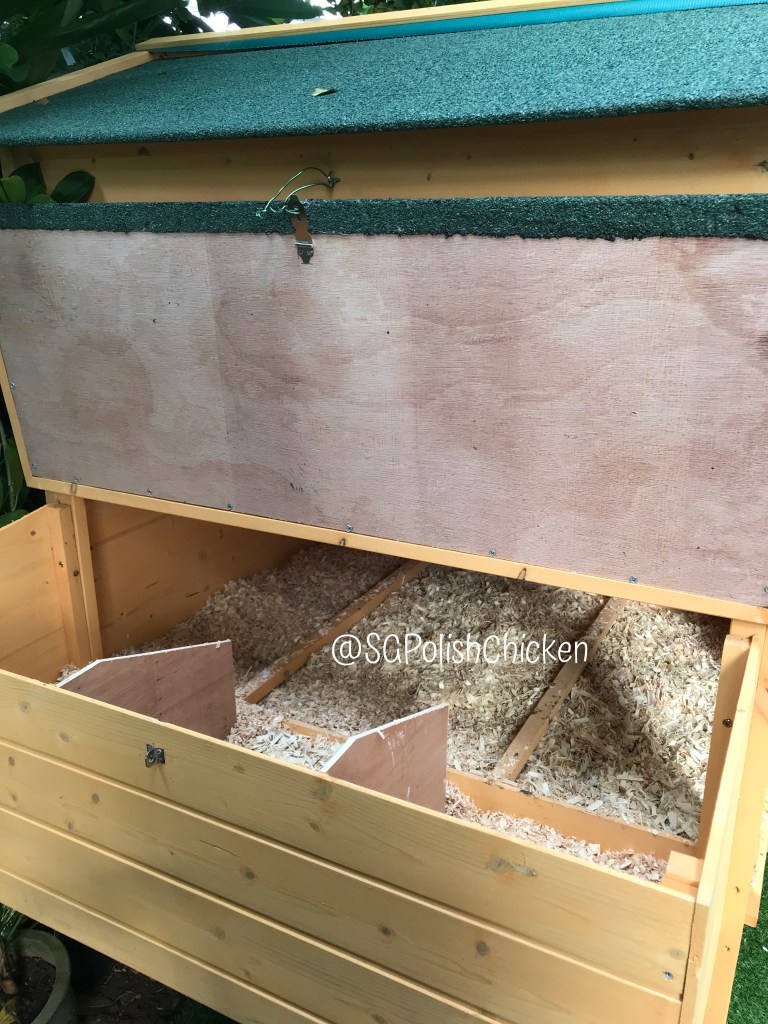

We usually picked up the poop in the nesting area every morning and throw away. And open up the roof panel to sun and air it throughout the entire day. And we use DENutrients Diatomaceous Earth regularly in their wood shavings/rice husks bedding, and also on the wooden panels.
You do not want the coop to be wet as it will attract flies, mites, ticks etc. Keep it as dry and clean as possible.
We will have a deep cleaning session, where we dispose the entire bedding and add fresh mixture of wood shavings and rice husks in.
Coating Wood Panels
I did not coat the wood panels as I’m extremely impatient and won’t be able to wait for the paint to dry.
Probably will coat it in a few months time!
Hopefully it can last for at least a year and shall upgrade again.
(Update as of 16th Dec 2020: It’s been more than a year now, and still going strong!)
Remember to vacuum the inside of the coop before letting your chickens in!
Cheers,
SGPolishChicken 🐣