
Hello!
It has been a while since my last article and always been on my mind if I should start a topic on incubating eggs. Due to the reason that I do not want to encourage irresponsible hatching and breeding, it is always heartbreaking to see abandonment cases due to impulsive ownership, while breeders like to hatch nonstop just for the monetary gains.
However, I have also been receiving questions on what they should do and noticed some areas that they have missed out and thus resulting in common issues like splayed legs, chicks dead in shell, etc.
This is going to be a long guide based entirely on my personal experience over the years where my hatch rate are more than 90%.
How many days for chicks to hatch out?
For smaller breeds like polish chickens, it will take 20 days. Usually 1 to 2 days earlier than larger breeds.
What To Prepare?
- Incubator (I am using Rcom Pro 10)
- Brooder (To keep the chicks warm after hatching)
- Non-Slip Mat (Very important)
- Heat Lamp
- Box
- Dog pee pads (Choose those that doesn’t gel up when it gets wet.)
- Sharp pair of tweezers (In case of emergency)
Dry Incubating/Dry Hatch Method
Due to Singapore’s high humidity level, I always dry incubate my chickens’ eggs at 37.5 degrees Celsius. Dry incubating or Dry hatch means that I do not add any water into the incubator.
For me personally, I will only increase the humidity to 60% – 70% during lockdown period (Day 19 till hatch day). This is to prevent the chicks from being “shrink wrapped” in their own eggs, and they are unable to hatch out and will die in it. However, the humidity levels also cannot be too high (>90%), which will result in them drowning! And will take a longer time to dry and fluff up when placed in the brooder.

How to Incubate the eggs?
Simply follow the instruction manual from your incubator. Make sure you sort out the pointy and rounded ends of the eggs. Do not wash the eggs.

Most of the incubators these days come with auto rotating function where they will rotate the eggs gently. And will have lockdown function, when it is time to hatch. If your incubator does not have the lockdown feature, make sure to count the days and mark in your calendar. Once lockdown begins at Day 18, you should be expecting to hear lots of chirping soon.
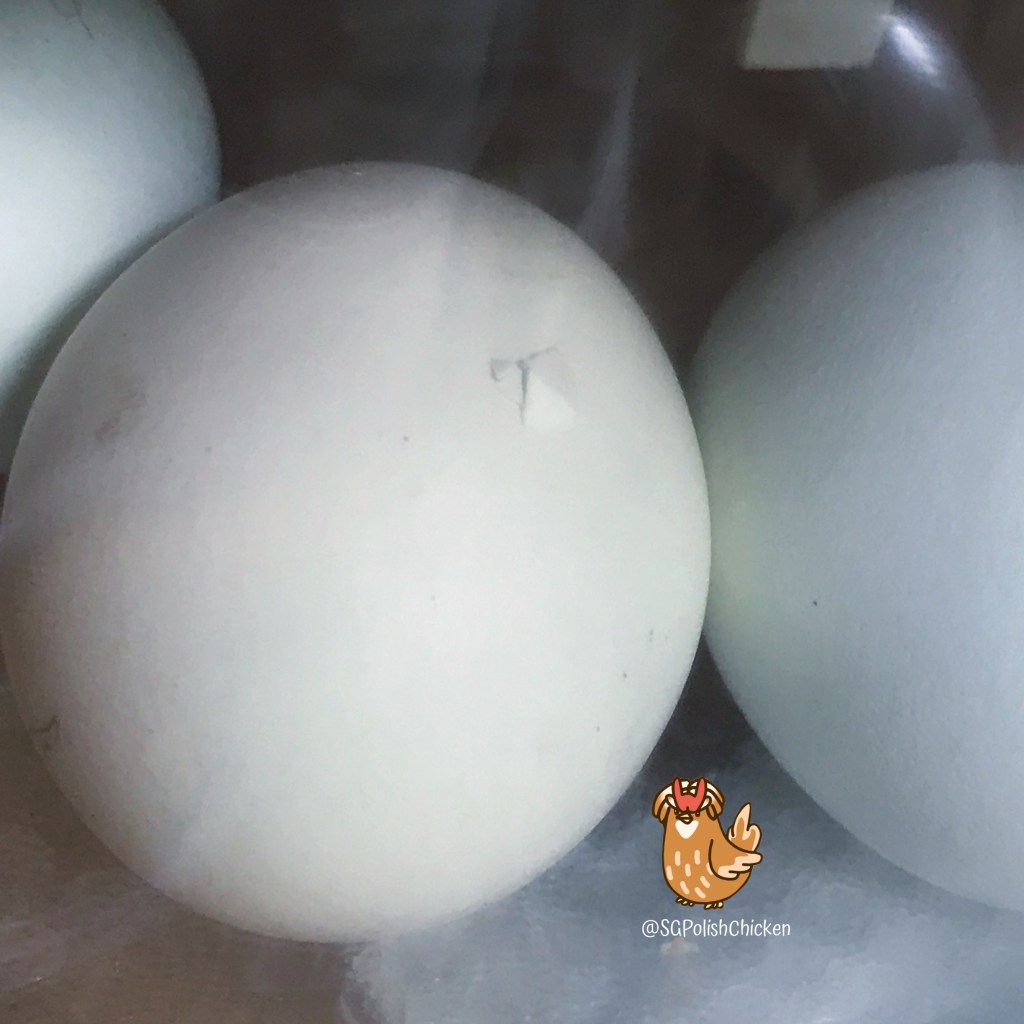
Nothing to do until Day 7
Ok, so it is Day 7 now. Best to do this at night.
Take a torch, or your mobile phone flashlight, gently remove the egg from the incubator, switch off all the lights at home and check if there are any blood vessels or movement in the egg. Do not leave the egg out for too long. Quickly put it back and check the rest.
Those without any signs of life, mark it with a pencil, put it back into the incubator. And check again on Day 9. If still nothing, you can dispose it as you do not want to risk rotten eggs exploding and contaminating in your incubator.
Day 18
Time to lockdown and stop the incubator from rotating the eggs. At this point of time, many people will use tissue or kitchen towels. Although they are good absorbents for the yolks and liquids when the chicks hatch, the material is also too smooth and slippery for them.
I will like the incubator base with non-slip drawer mats that i bought from Ikea. Link here.
1 roll of 150cm only cost SGD$5.90
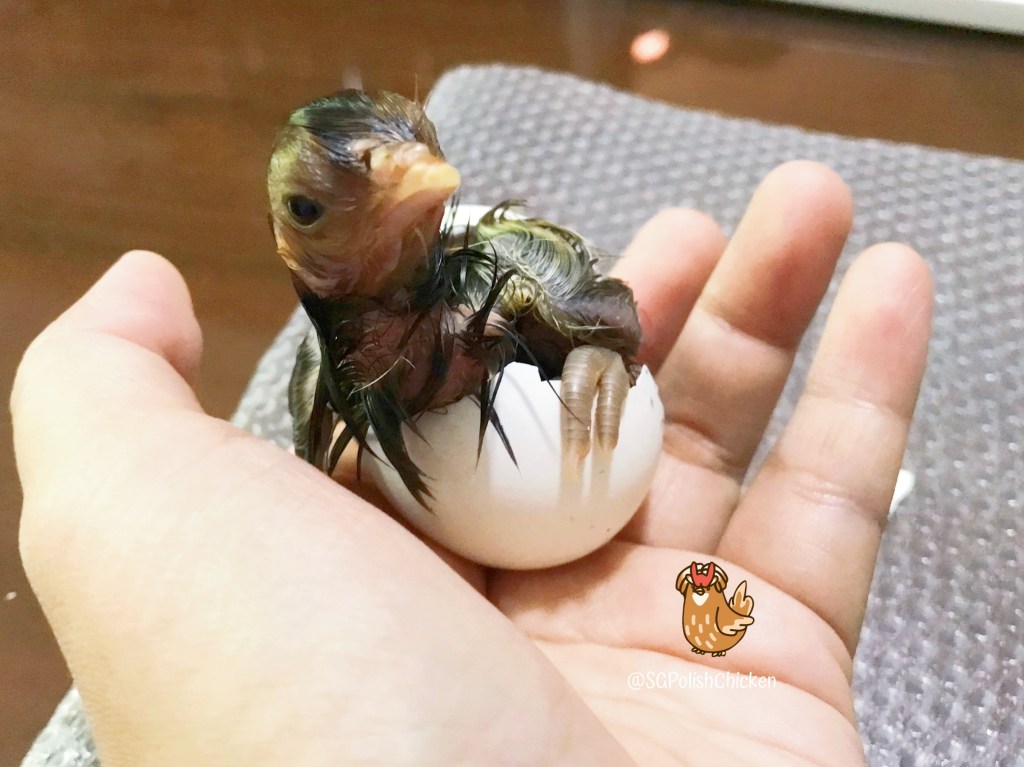
Hatch Day
This will be the most exciting day of your life! I usually will apply leave from work as I will be constantly monitoring them for the next 24 hours to 48 hours.
You will first noticed a crack on the egg, known as pip. And just continue to wait and observe carefully!
Usually you do not need to intervene the hatching process. However, sometimes they need a little help.
When and what to feed them?
Newborn chicks do not need any water or food for the first 48 hours of their life. I usually let them dry and fluff up, look more active and chirpier before I transfer them to the brooder box.
I will usually use Chick Starter feed and a shallow water dish. Pick them up and show them where the food is, gently dip their beak into the water dish and they will know how to feed themselves.
Potential Problems
Chick lying on its back
This is a rather common one. Where the chicks hatched out and unable to flip itself on to its feet or belly. People will be “oh its so adorable, cute and funny” and leave them there. Bad idea. Their wings or spinal code may be deformed as they are still fragile and may be weak from all the struggling. Quickly, gently pick them up and reposition them.

It was my first time hatching chicken eggs, and did the newbie mistake of lining the incubator with tissue and kitchen towels. Causing the baby chick not to have any grip and ended on its back. Thankfully, we noticed this immediately and corrected its posture without any damage.
Chick still attached to a string? (Umbilical cord)
Sometimes their umbilical cord may still be attached to their navel and you may find it uncomfortable to see them dragging their broken eggshell around the brooder. It is ok, they will dry out and it will fall off on its own. DO NOT attempt to cut or break it as it will bleed!

Chick chirping but unable to hatch out on its own after more than 48 hours
I encountered this case and tried my best not to intervene with its hatching process but the membrane was drying out (even though I increased its humidity), and the chirping frequency was reduced and I figured out that it’s time to help this little guy out.
This is a rather risky move because if the blood vessels are still stuck to the membrane, it will bleed the chick to death. Make sure that you have checked the membrane is dry and do not proceed if it is still wet and you can see the blood vessels.
Prepare some cornstarch and cotton buds just in case that it starts to bleed.
Chick pipped on the wrong end of the egg
Usually they should pip at the rounded end of the egg where the airsac is, however, some chicks are just weirdos. If this case happen, monitor and see if they are able to complete the breaking of the shell. Intervene only if it is required. (Read above paragraph)
Splayed Legs
I have never encountered this issue as I always use non-slip mats in my incubator. Just make sure if they are ever found in an awkward position, quickly gently reposition them.
Pasty Butt
This may occur when the chicks are about 3 days old. Pasty butt occurs when their vent gets clogged up and dries up. And they are unable to expel their waste.
If you realized that their butt have dried-up poop, quickly clean up with wet tissue (alcohol-free), and observe if it occurs again. If it does, it is time to treat them asap.
What I did was that I prepared a shallow dish and added warm water with a dose of epsom salt, and twice a day, i will soak them in and gently wash their butt and clean off the mess. Please make sure to dry them well with a hairdryer. They are still very tiny and weak, even though they look active and running around happily.
Use a cotton bud and apply Vaseline around the vent and add probiotics to their water. Make sure your brooder is warm and comfortable.
If the condition does not improve after 3 days, please send to the vet.
What Do I Do Now?
Congratulations that your chicks are healthy and active. If you are going to rehome your chicks, please make sure they are at least 1.5 to 2 weeks old.
Here are my own timeline for my chicks:
1 day old to 2 weeks old: Brooder or Brooding Box
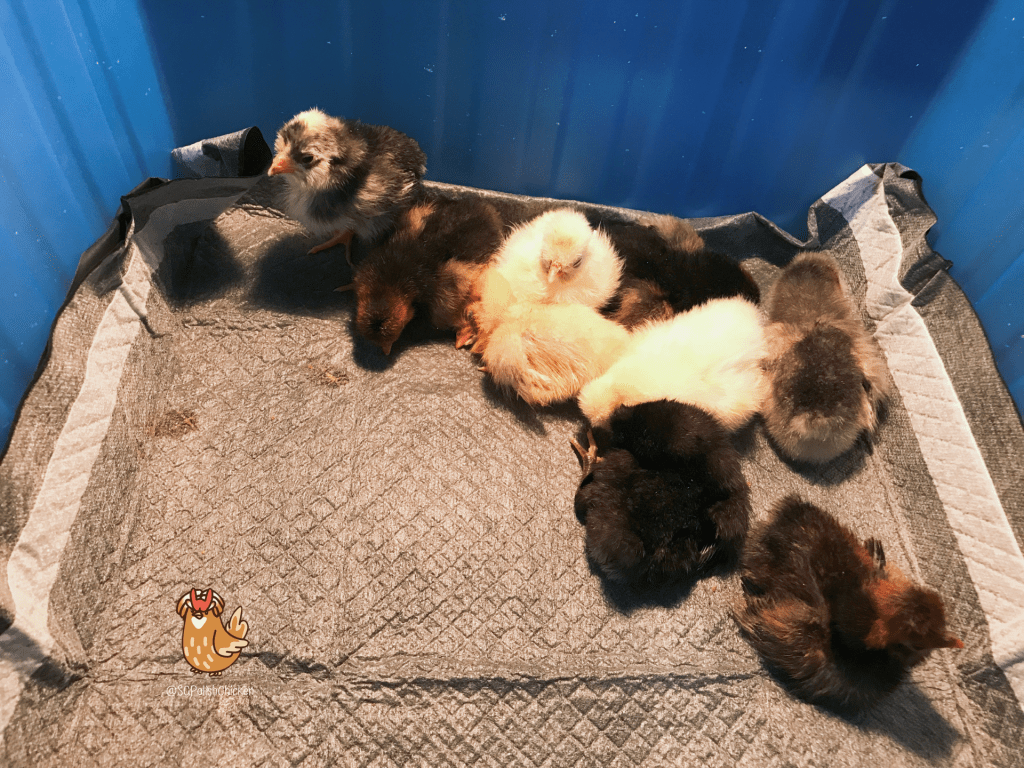
I lay the brooding box with pee pads meant for dogs. And make sure that you choose the brand that does not clump with gel. Chicks are very curious and may peck and break the pee pad layer and start to eat the gel!
Change the pee pad once or twice a day. Don’t bother to use newspaper as they are lousy absorbent and may stink even more. Will start to introduce to my other pets at home and put them in a playpen indoors.
2 weeks old to 4 weeks old: Move to a bigger brooder box (If required)
They are still indoors and away from any wind drafts. I still not comfortable to introduce wood shavings to them. So it will still be pee pads. I will start to put them in a playpen outdoors for longer hours. Slowly introduce them to soil.
4 weeks old and above: Rabbit Cage
This is the time where they are old enough to be placed outdoors (but still under shelter, in our front porch). Introduce them to wood shavings or rice husks as their new bedding. Also more outdoor and foraging time for them!
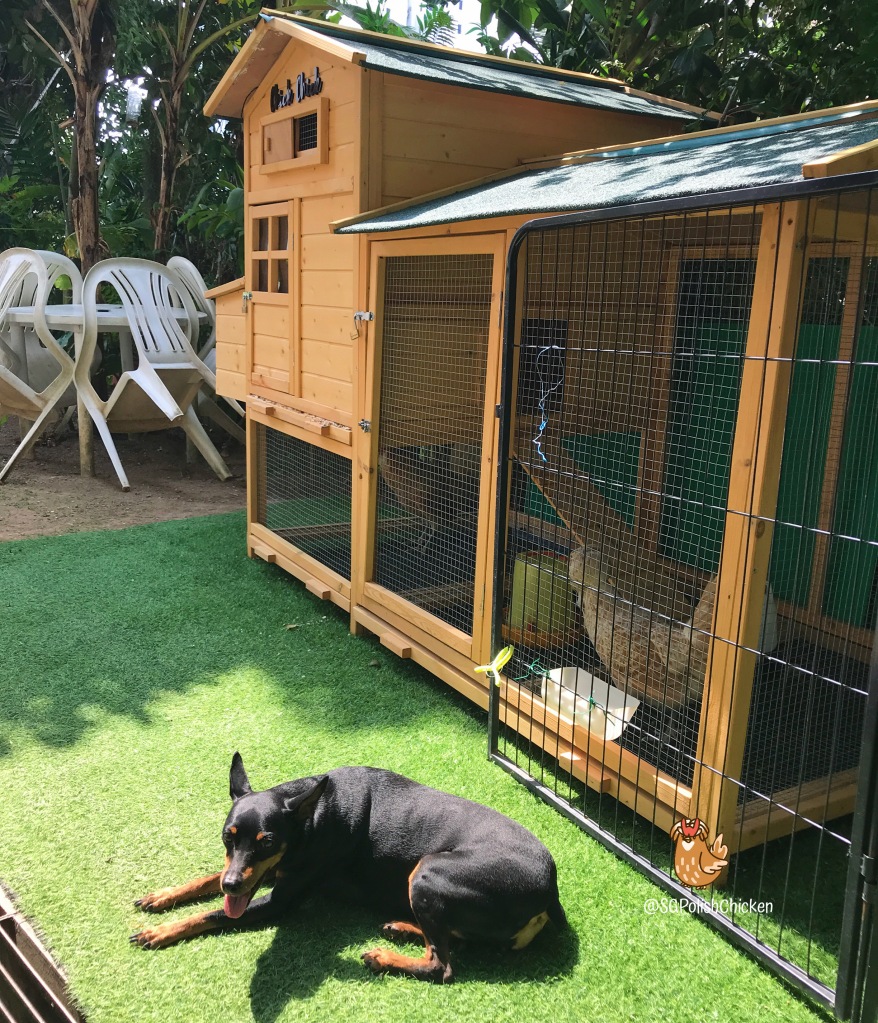
5 to 6 months old: Time to upgrade to the outdoor coop and flock introduction
How time flies! It is time to now introduce them to the big boys. As I always put their playpen side by side, they already have an idea of the who-who at home. Once the babies have grown and about the same size as our adults, we will start to integrate them together and hopefully they will sort out their pecking order on their own.
“Always remember to hatch responsibly. It is a life after all. Never treat it as a money making commodity.
–SGPolishChicken
Adoption Guidelines
Click here for adoption guidelines

